Aside from the standard items you’ll add into your Prioritization, you can also include a suggestion box, which allows users to submit their own suggestions and ideas.
This quick video (and the written tutorial below) will walk you through the short steps of adding a suggestion box.
To add a suggestion box, first navigate to your Prioritize project. From the "Item" tab, click on the drop-down arrow next to the "Add An Item" button.
In the modal that appears, you can change the item’s name, add details, assign a category, and add an image (a default image will be used if a custom image is not uploaded/selected). Additionally, you’ll need to choose one of three different options for the “Amount Field”, which will determine how the suggestion box functions for users:
- Do not include an amount field (default and most popular selection)
- Include an amount field, but do not apply it to the balance
- Include an amount field and apply it to the balance
If you select either option to include an amount field, you can also optionally add a ceiling that the user will not be able to exceed.
Once you’re satisfied with the settings, click “Done,” and the suggestion box will be added to the other items within your Prioritization. As with other item cards, you can drag and drop to rearrange, or edit later if needed.
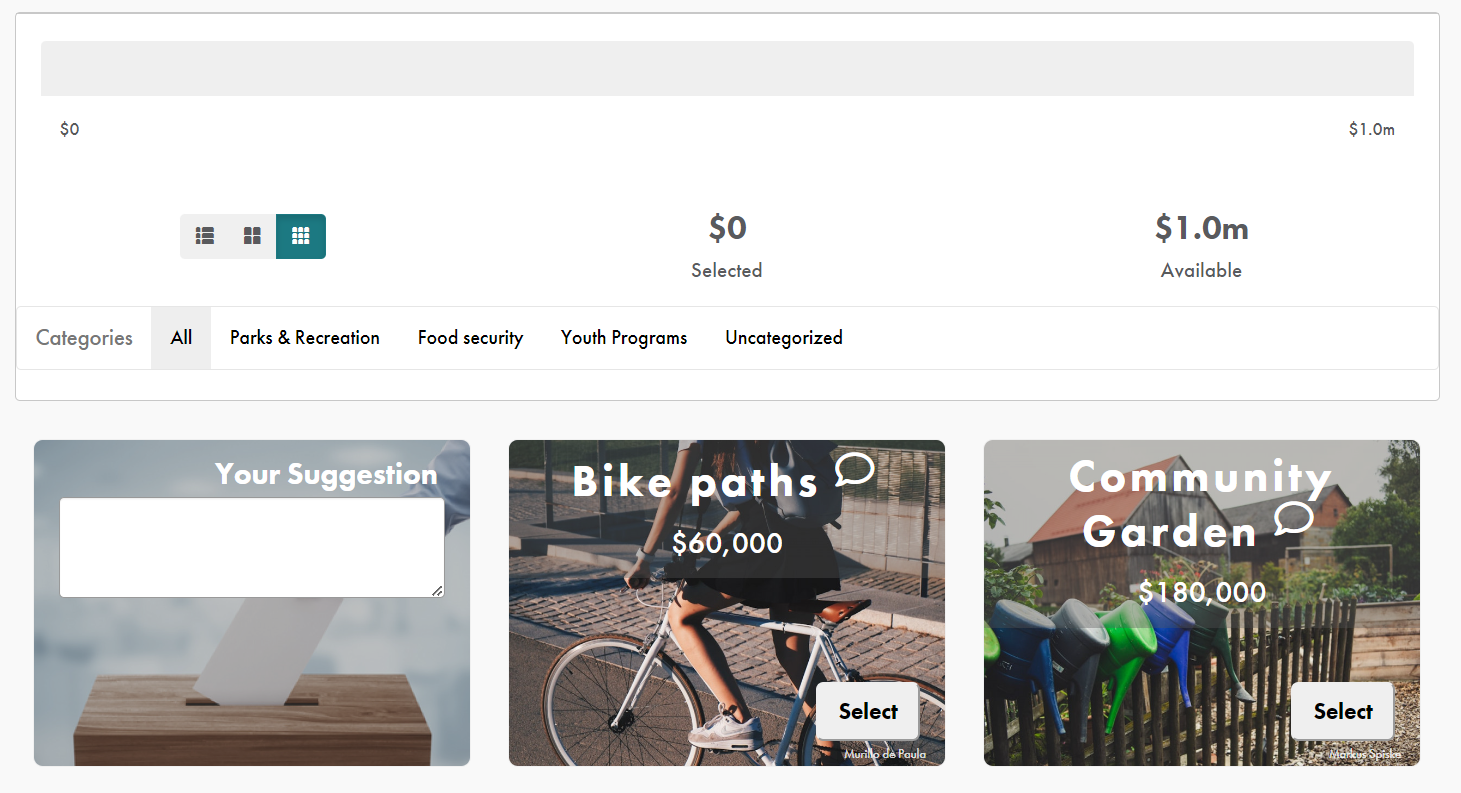
End users will see the suggestion box as an item card with blank space to write in their idea (and an amount field, if applicable).