In both Prioritize and Simulate, you can use exit and entry questions to gather additional information from participants. These questions may be customized to best reflect your organization, audience, and data needs.
Watch this short video or read on for more information about using exit/entry questions.
About Entry and Exit Questions
Entry questions pop up in an introductory modal when users first visit the site. Conversely, exit questions are shown in a final modal after users submit their response.
Together, these questions provide options for you to:
- Add branding, such as your logo
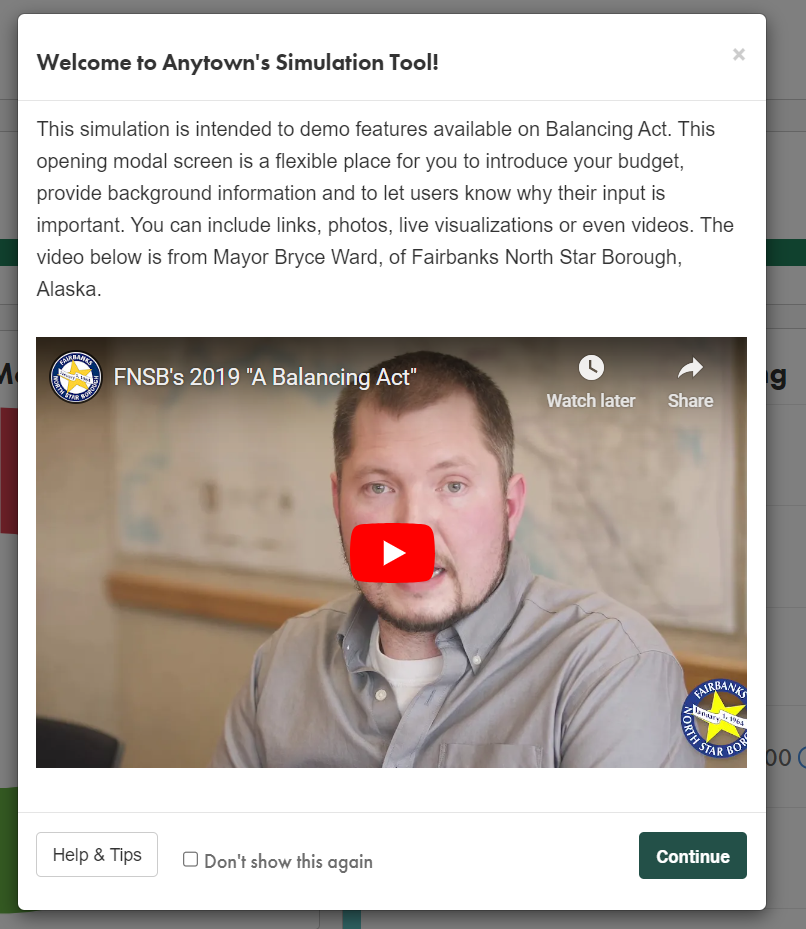
- Insert videos, including messages from senior leaders or walkthroughs of the simulation
- Give users additional context or guidance through text, hyperlinks, or videos (e.g., messages from senior leaders, project explainer videos, simulation walk-throughs, etc.)
- Ask survey questions (e.g., to gauge users’ level of familiarity with an issue or project, preconceptions/assumptions about a topic, etc.)
- Learn where users live by having them "drop a pin" on a map
Here’s an example of a user navigating entry questions in a prioritization project:
Creating Exit and Entry Questions
In your simulation or prioritization, navigate to the Exit/Entry tab. There, you’ll see some existing simple survey questions categorized into Entry and Exit sections. Several questions are included by default, but you can certainly change those selections as needed.
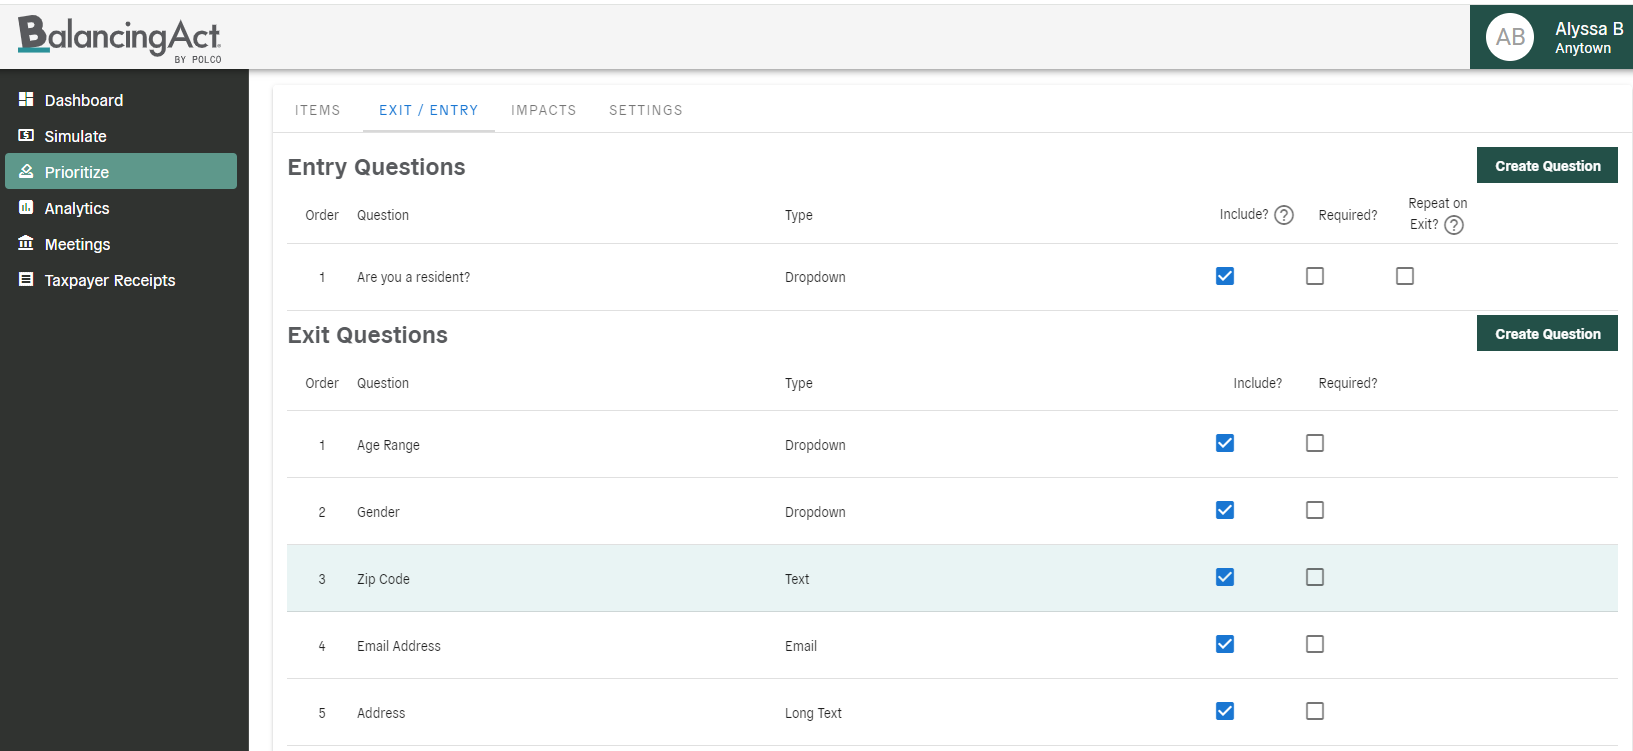
You can make any question required, which will prevent users from moving on until they submit a response. If any entry question is not answered, it is automatically repeated on exit. Checking the “Repeat on Exit?” box for entry questions will add the same question to the Exit questions modal, even when users provide an answer in the Entry modal, allowing you to compare user responses from both before and after their participation.
The "Create Question" button allows you to build your own question. You can select from different question types, including text (short answer), long text (long answer), email address, or dropdown (multiple choice).
After you’ve completed the custom question, click “Done”, and it will appear in the list of questions. As with the other questions, you can drag and drop to rearrange, and adjust the required/repeat settings as desired.
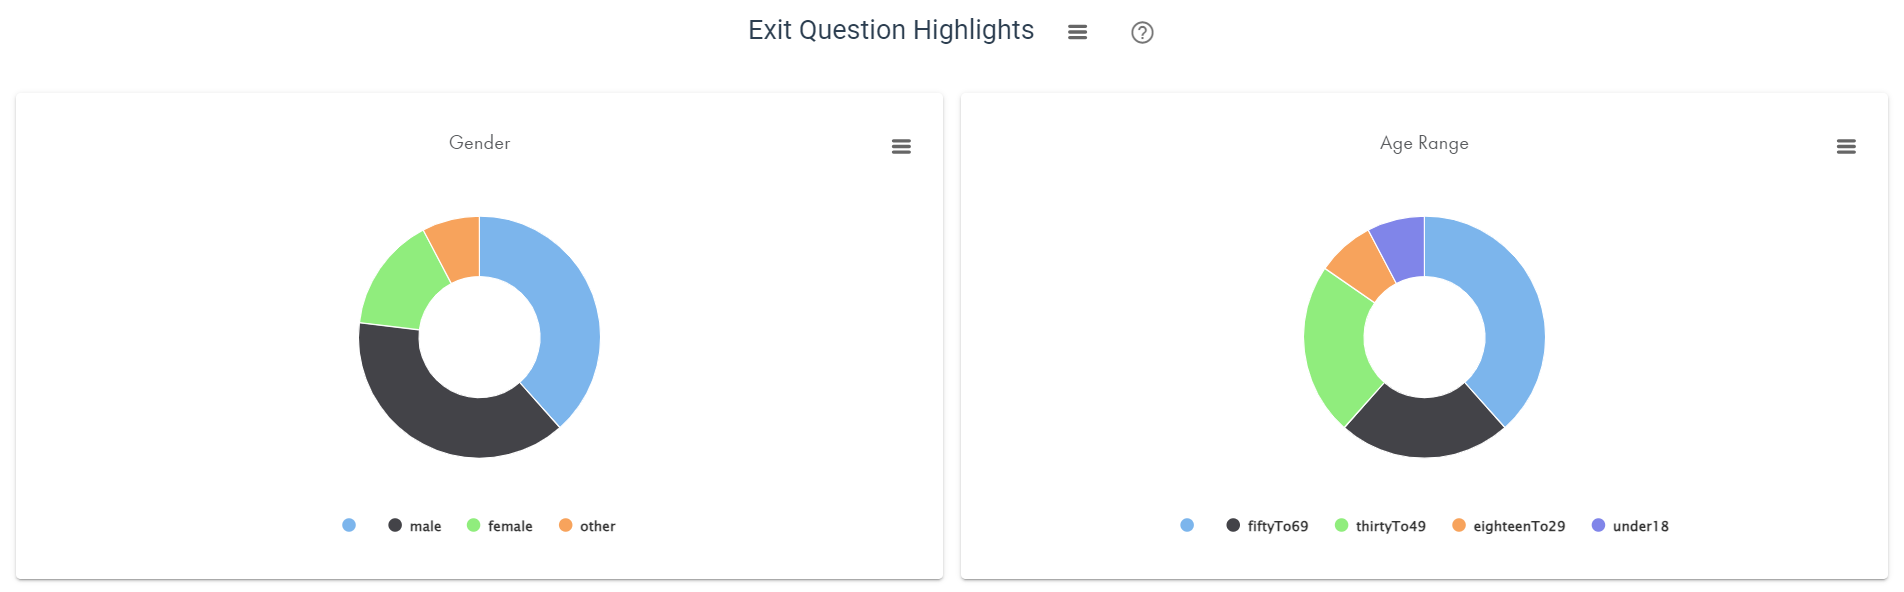
Responses to Entry and Exit questions are included in the results for your prioritization or simulation.
Custom Settings
Enable Drop-a-Pin
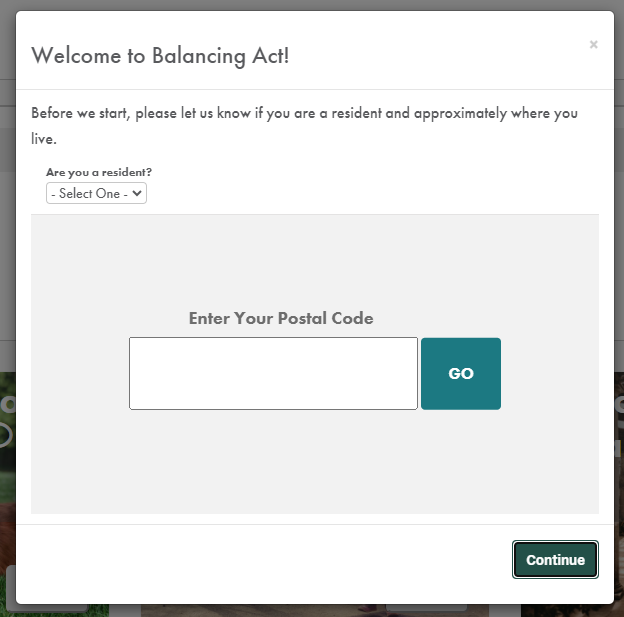
The first custom setting open you’ll see is a checkbox to “Enable Drop-a-Pin”, which prompts users to enter their postal code. Once they do so, a map appears where they can drop a pin near their residence. This drop-a-pin setting may be made required if you choose.
You can view a visual representation of users’ pins in the Analytics section, and participants’ longitude/latitude will also be included in the downloadable report.
Introduction and Closing Text
The next fields allow you to enter rich content for different parts of the entry and exit screens. The top of each window presents formatting options and tools to add photos, live updating visualizations, links and videos. After editing any of these items, click the green checkbox in the bottom-right corner to save your changes.
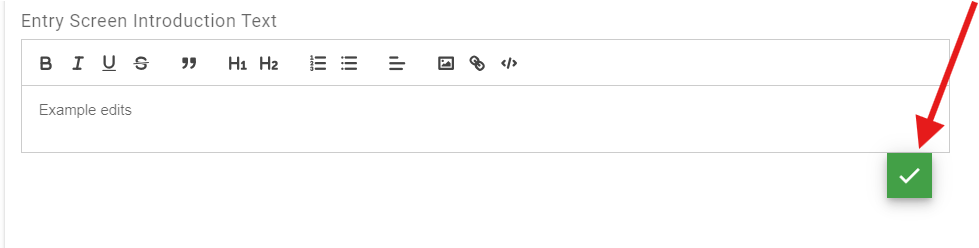
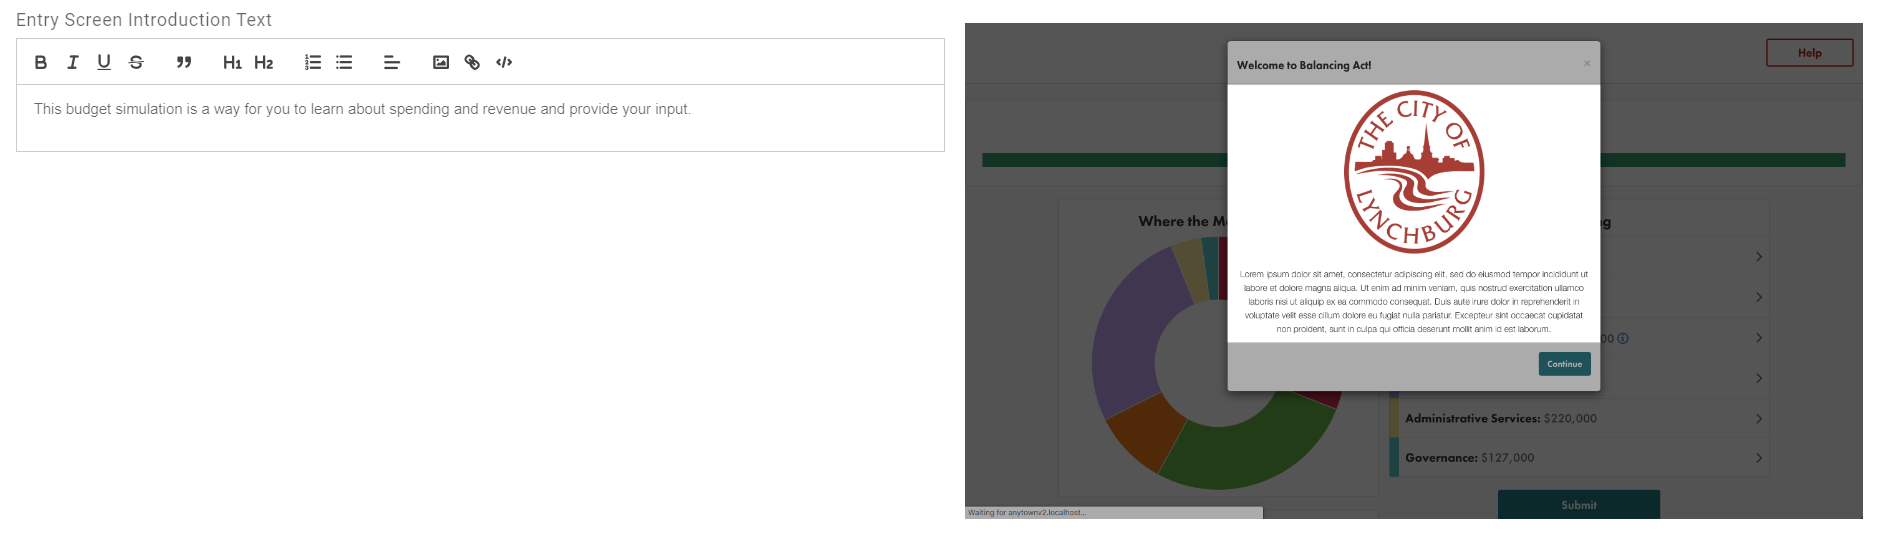
Entry Screen Introduction Text
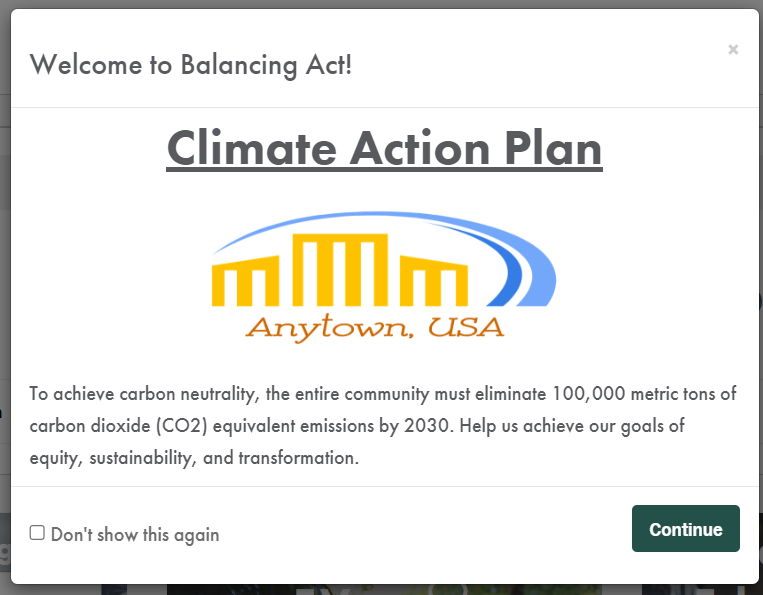
We recommend using the Entry Screen Introduction Text to introduce users to the simulation/prioritization. Including your official logo can assure participants that this tool is legitimate, and a quick blurb about your goals or purpose can help users provide better feedback.
Entry Screen Closing Text
This field appears directly above the entry screen questions. You can leave the default language as is, or use this space to briefly explain why users are asked to provide this information.
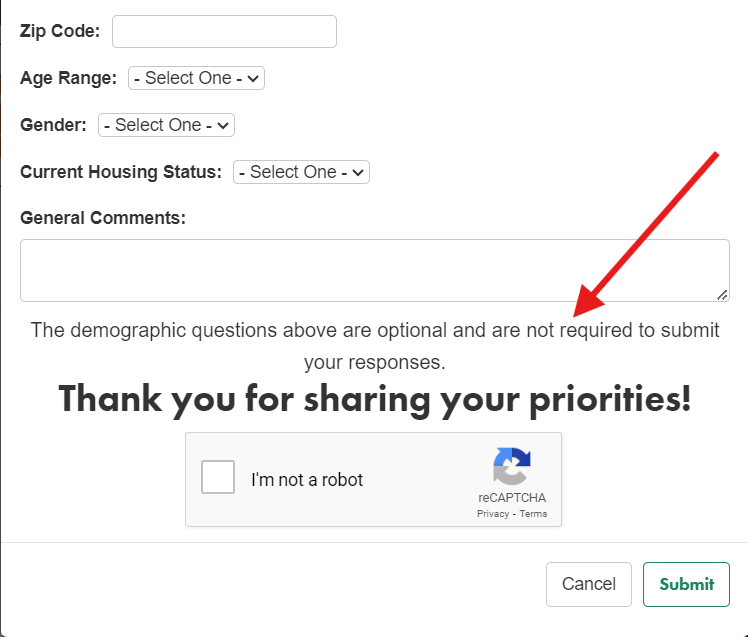
Exit Screen Closing Text
This section appears below the exit questions, within the modal that pops up after users have submitted their responses. Feel free to customize this text to share appreciation for users’ participation, notes about the exit questions, your plans for next steps, or when/where participants can access high-level results.