The Guided Tour feature allows you to select the most important simulation items for residents to interact with first, before proceeding to the full simulation. This is excellent for highlighting specific scenario questions, bond requests, or any other prominent items.
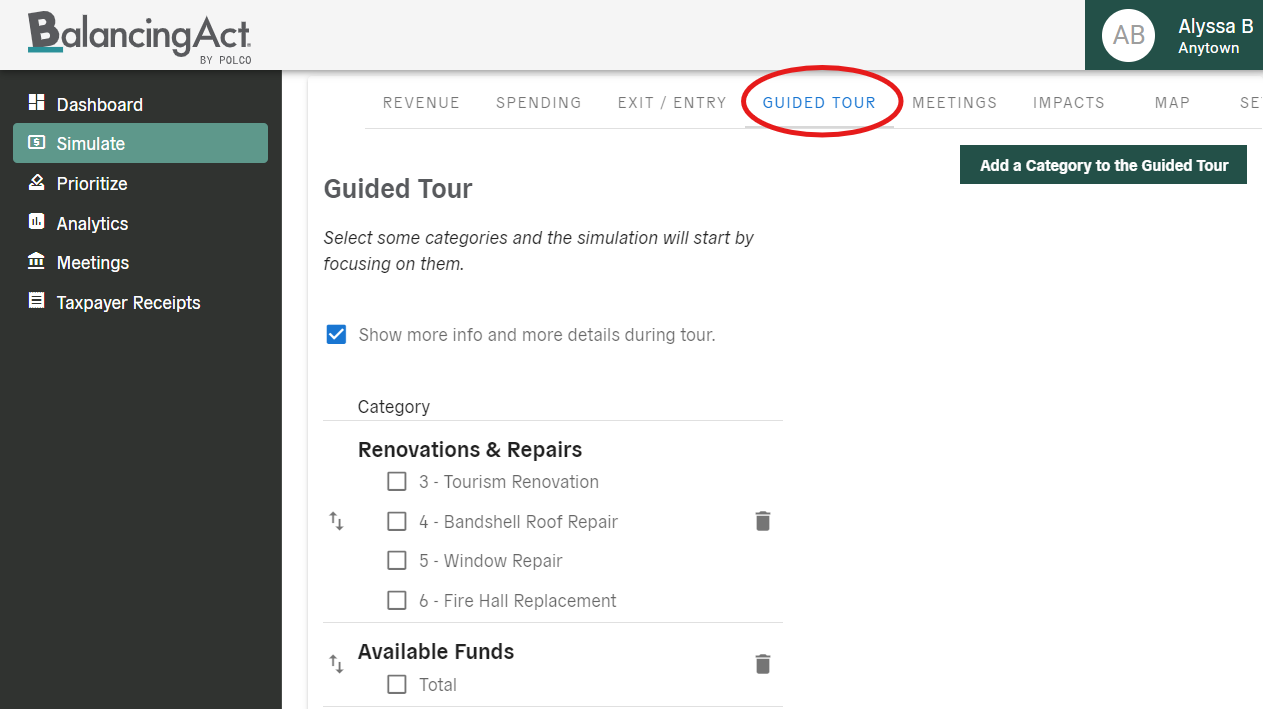
From the "Guided Tour" tab, you'll be able to see the categories and sub-categories that you've already added to your simulation.
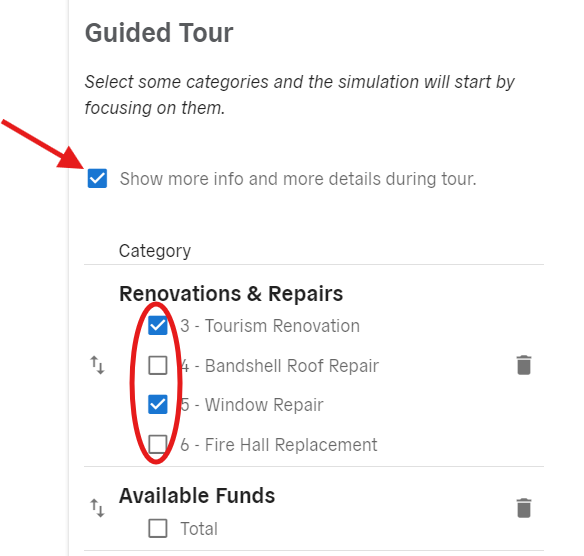
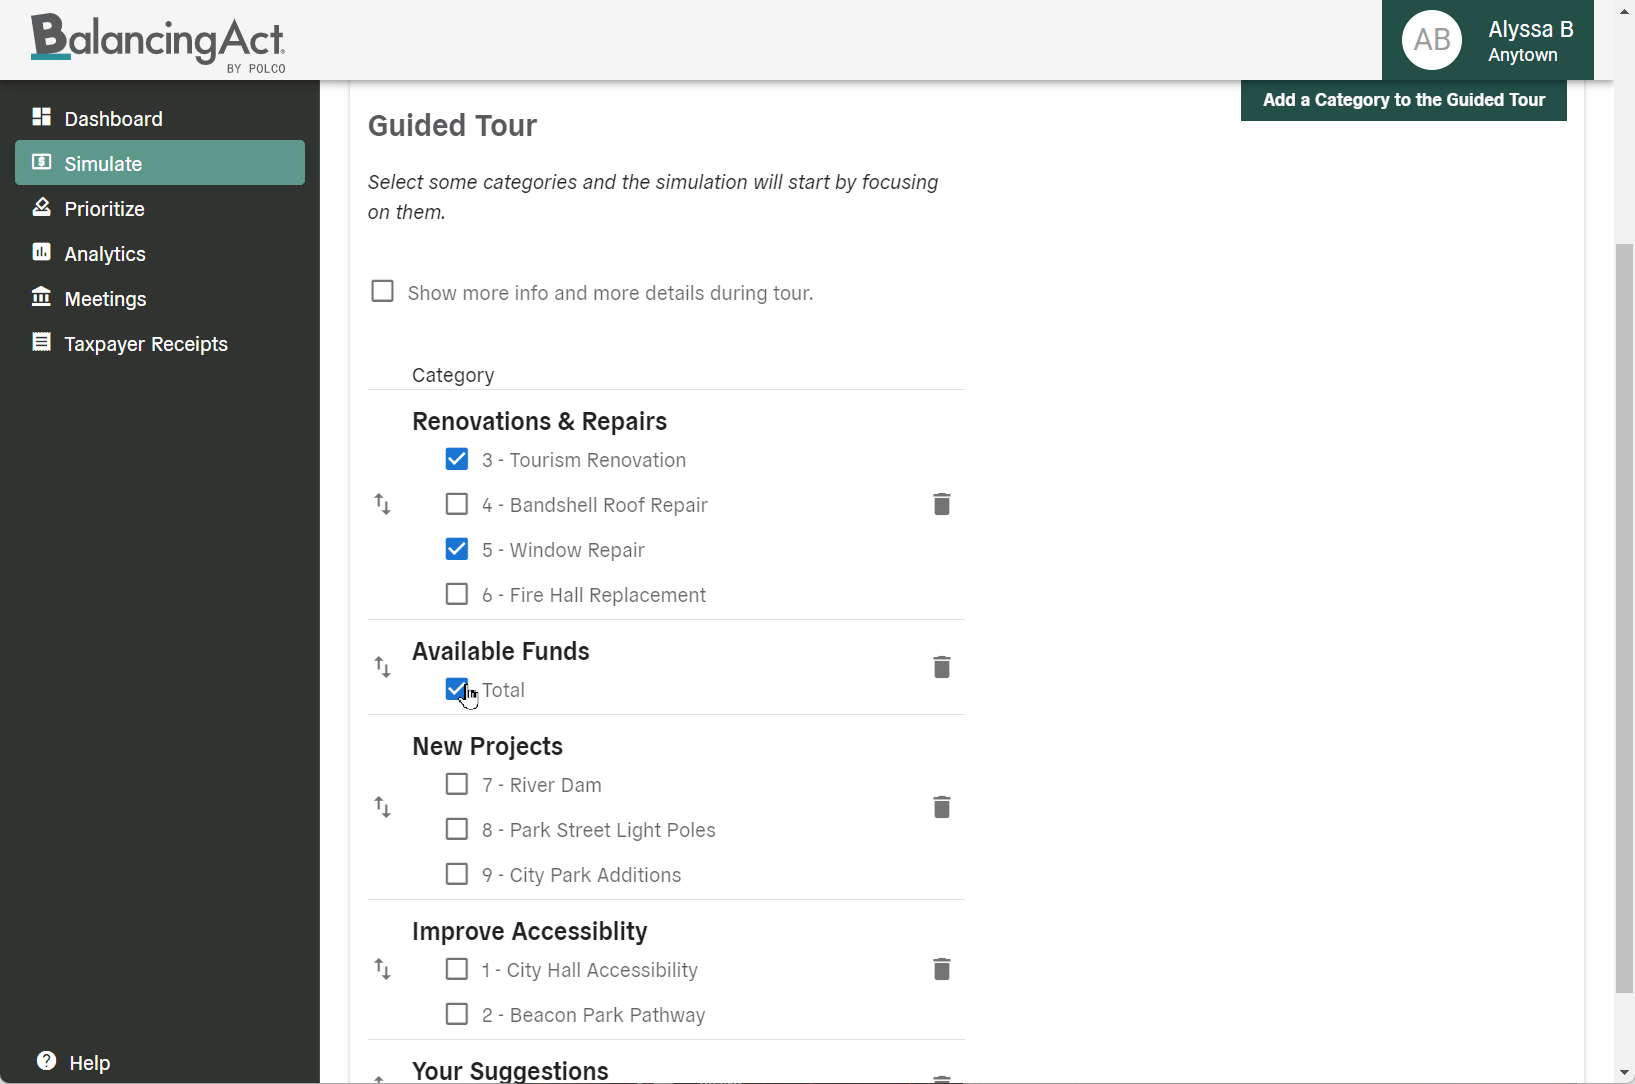
Now it's time to select items! Click the checkbox next to any sub-category you’d like to highlight in the Guided Tour. You can select as many items as you like. You can also choose whether or not to include the "More Info" and "More Details" text for each subcategory using the initial checkbox (located above all the individual items).
If you’d like to adjust the order in which selected items appear to the user within the Guided Tour, simply drag and drop each category to its desired arrangement.
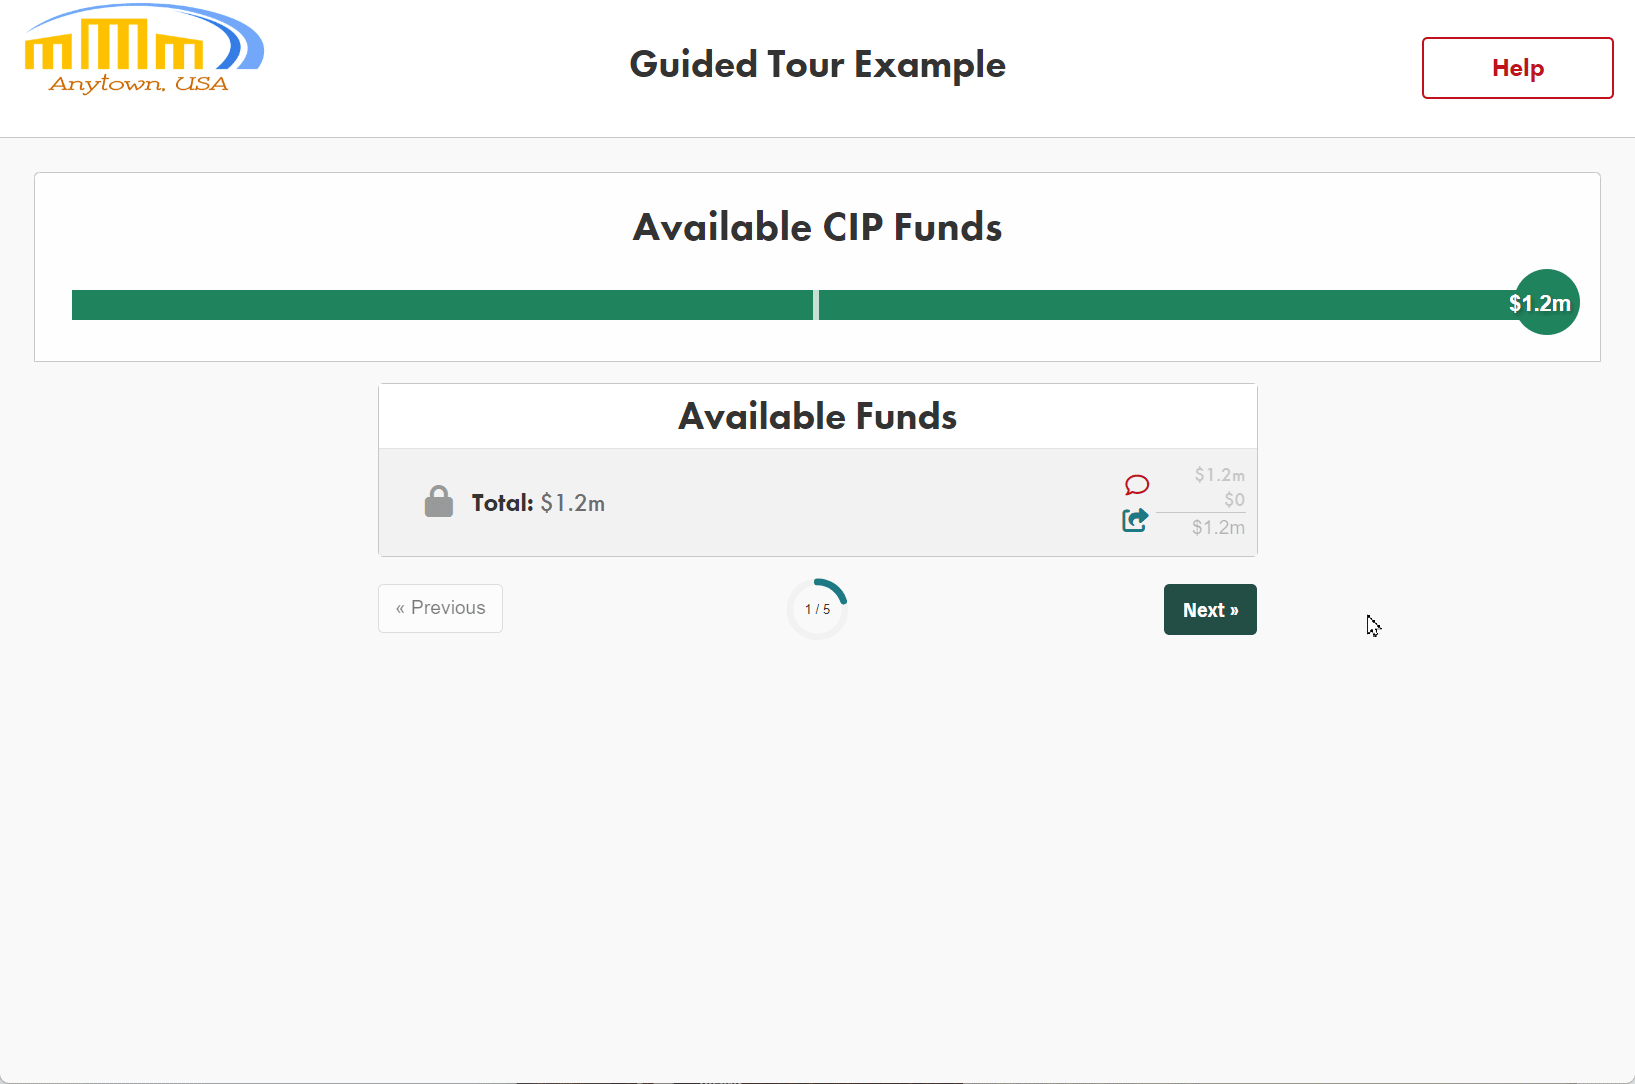
End users will see each of those items highlighted individually, prior to seeing the entire simulation and all other options. In this budget example, residents view the overall available funds first, followed by selected projects, allowing them to make some initial funding decisions before viewing the remainder. Users are free to adjust those allocations once the entire simulation is visible, before submitting.