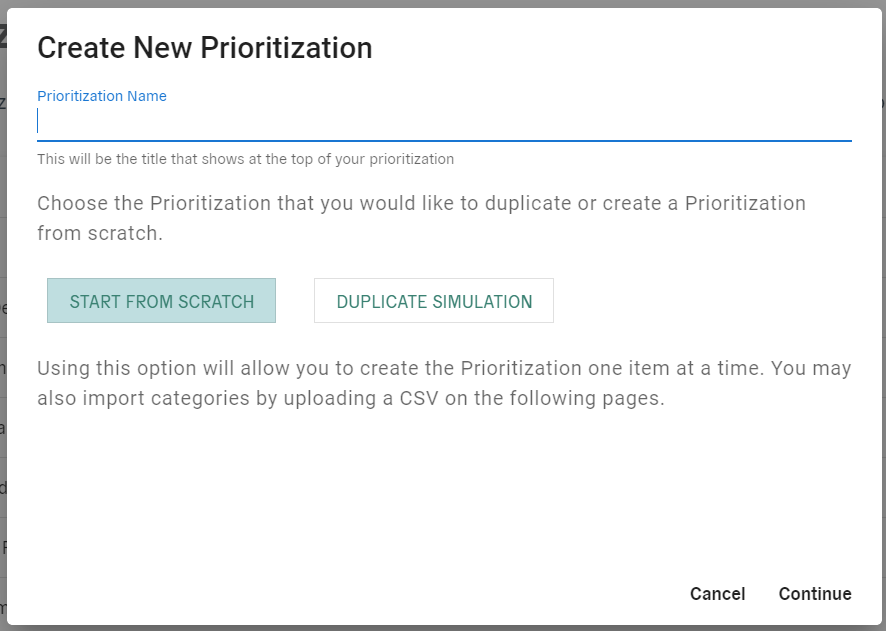
Once you’re logged in, click on the "Prioritize" button on the left sidebar, and then "Create Prioritization" on the right.

In the window that appears, give your new prioritization a name, and choose whether you’d like to duplicate an existing prioritization or start from scratch.
Adding Content
First, enter the available funds for this prioritization. The available funds number can be either a cap (as in a budget, where selected items cannot exceed the listed amount) or a goal (where selections must meet or exceed that amount).
Next, you can add individual items manually or in bulk by importing a CSV file. You can also add a suggestion box to allow users to write in their own suggestions/ideas.
All completed items will populate on your Prioritize dashboard. Rearrange the order of items if needed by dragging and dropping any item box.
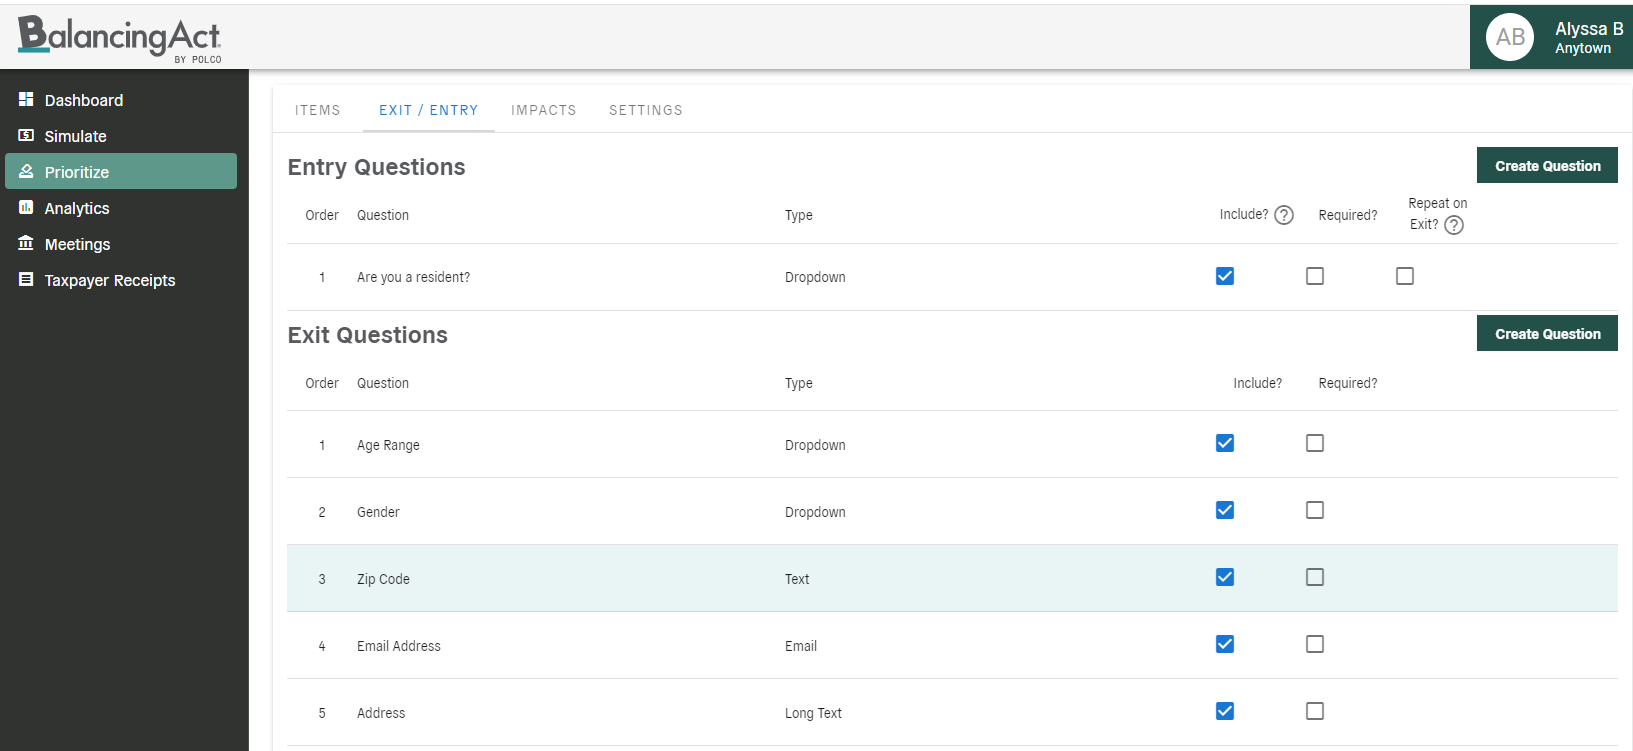
Customizing Exit/Entry Screens
From the "Exit/Entry" tab, you'll be able to customize what users see when they first open the prioritization, and also when they submit their responses. With these sections, you can provide further context on the project/issue or the Prioritize platform, gather information about participants’ demographics, discover where users live, and more.
There will be a set of pre-populated entry and exit questions, but you can also create new questions to suit your project’s specific needs. For more information on Exit/Entry questions, read on here.
Finalizing Settings
Ensure that your project has the right settings enabled, particularly for balance bar behavior and units. You can also customize text strings, limit how many items each user can choose, disable commenting, change display modes, and more!
Previewing and Activating the Prioritization
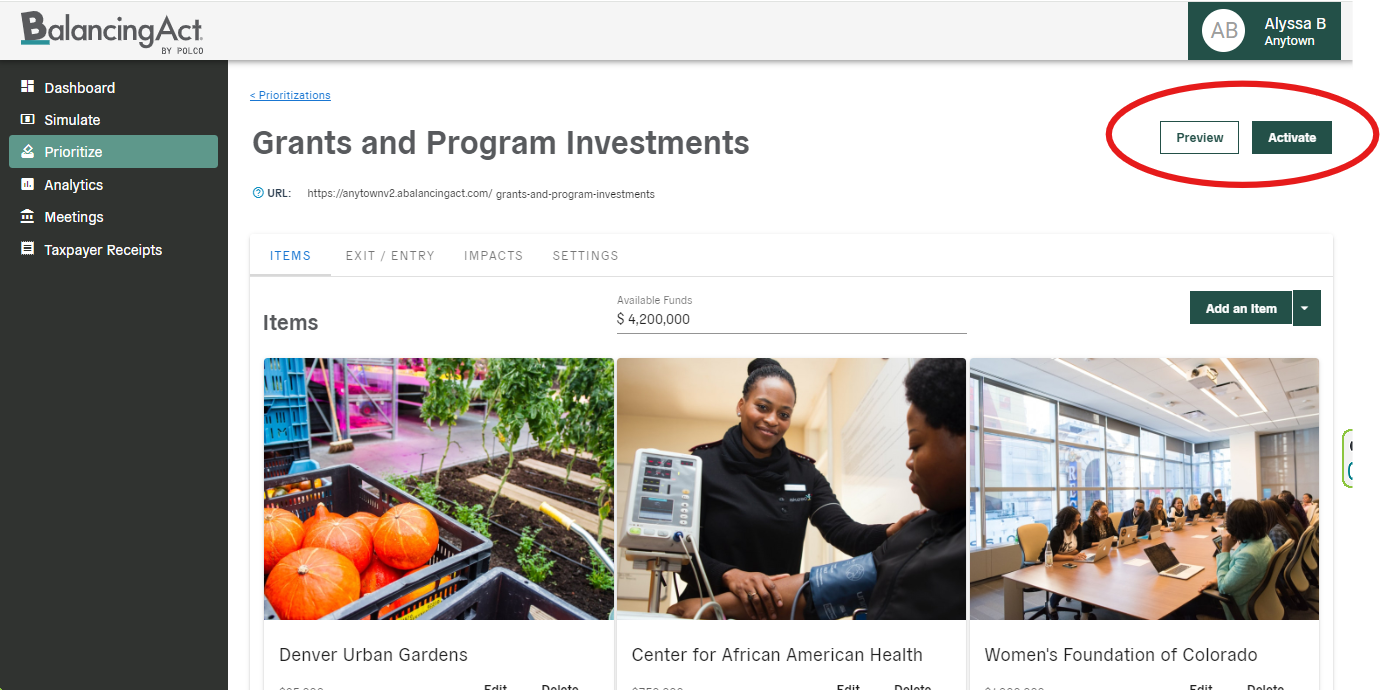
At any time during the set-up process, you can select the "Preview" button to view all of the data/content from a participant’s perspective. When you’re ready to publish your prioritization, click “Activate”. This will make the prioritization live, but you'll still have the ability to make edits afterward.
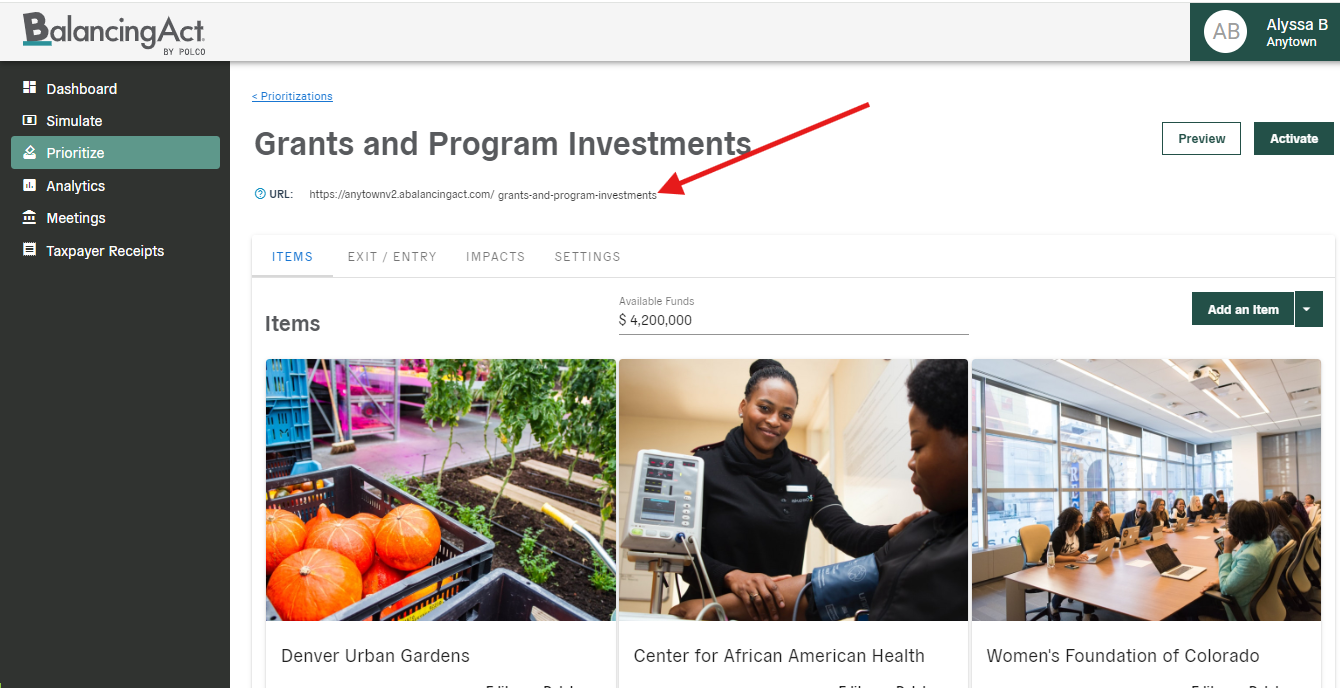
The prioritization’s URL for sharing can be found underneath your project name. For more info about customizing and sharing the URL, check out this article.